
Artisan pizza dough is the foundation of a perfect pizza, offering a crispy crust and delightful chewiness that elevates any pizza night. Whether you are a novice in the kitchen or a seasoned cook, this homemade dough recipe is designed to help you create pizzeria-quality pies in the comfort of your own home. The magic of artisan pizza dough lies not only in its texture and flavor but also in the simple yet meticulous process of making it. In this guide, we will explore the intricacies of creating artisan pizza dough, the science behind its ingredients, and share tips for achieving that perfect crust.
Understanding the Ingredients
To master the art of artisan pizza dough, it’s crucial to understand the role of each ingredient. This knowledge will not only enhance your baking skills but will also help you appreciate the science behind each component. Here’s a closer look at the essential ingredients that make up artisan pizza dough.
The Role of Bread Flour
At the heart of any excellent pizza dough is bread flour. Unlike all-purpose flour, bread flour contains a higher protein content, typically ranging from 12% to 14%. This increased protein is essential for developing gluten, which is the network of proteins that gives the dough its structure and chewiness. When you knead the dough, the gluten forms strands that trap gas bubbles produced by the yeast, allowing the dough to rise and giving it that delightful chewy texture we all love in pizza crusts.
Using bread flour ensures that your pizza dough has enough strength to hold up toppings without becoming soggy. In contrast, using all-purpose flour may yield a softer crust that lacks the characteristic chewiness of artisan pizza. For the best results, look for high-quality bread flour, preferably unbleached, to maximize flavor and texture.
The Importance of Yeast
Yeast is the leavening agent that plays a critical role in the fermentation process, helping the dough rise and contributing to its flavor development. For artisan pizza dough, active dry yeast is the most commonly used type. When mixed with warm water and a small amount of sugar, yeast activates and begins to feed on the sugars, releasing carbon dioxide gas. This gas gets trapped in the gluten structure, causing the dough to rise.
The fermentation process not only contributes to the dough’s texture but also enhances its flavor. As yeast breaks down sugars, it produces alcohol and organic acids, which add complexity to the taste of your crust. Allowing the dough to rise slowly, particularly in a cooler environment, can further develop these flavors and create a more nuanced taste profile.
Water Temperature and Its Effects
Water temperature plays a crucial role in activating yeast and ensuring proper fermentation. The ideal temperature for activating active dry yeast is between 100°F to 110°F (38°C to 43°C). At this temperature, the yeast will thrive and produce carbon dioxide effectively. However, if the water is too hot, it can kill the yeast, leading to a dense and flat dough. Conversely, water that is too cool will slow down the fermentation process, resulting in a longer rise time.
To achieve the best results, use a kitchen thermometer to measure your water temperature accurately. If you don’t have a thermometer handy, a good rule of thumb is to use water that feels warm to the touch but not hot. This simple step can significantly impact the success of your artisan pizza dough.
Salt and Sugar: Balancing Flavor
Salt and sugar are often overlooked but are crucial components in artisan pizza dough. Sea salt not only enhances the flavor of the dough but also regulates yeast activity. By controlling the fermentation process, salt ensures that the dough rises at an optimal rate, contributing to a better texture and flavor.
Sugar, on the other hand, serves a dual purpose. It feeds the yeast, helping to kickstart fermentation, and it also adds a touch of sweetness to the dough. This sweetness balances the savory components of the pizza, enhancing the overall flavor. However, it’s essential to use sugar in moderation; too much can lead to overly sweet dough and negatively affect the yeast’s performance.
The Role of Olive Oil
Extra virgin olive oil is a fantastic addition to artisan pizza dough for several reasons. Firstly, it adds richness and depth of flavor, contributing to a more complex taste profile. Secondly, olive oil helps to tenderize the dough, resulting in a crust that is both crispy on the outside and soft on the inside.
When using olive oil in pizza dough, opt for high-quality, cold-pressed extra virgin olive oil for the best flavor. The oil not only enhances the dough’s texture but also provides a subtle fruity aroma that elevates your homemade pizza to a new level. Additionally, the fat in olive oil can help prevent the dough from becoming too tough during the kneading process, making it easier to work with.
Step-by-Step Instructions for Making Artisan Pizza Dough
Now that we’ve covered the essential ingredients and their roles, it’s time to dive into the step-by-step process of making artisan pizza dough. Follow these detailed instructions for a foolproof approach to creating your dough.
Creating the Yeast Mixture
1. Gather Your Ingredients: Start by measuring out 1 teaspoon of active dry yeast and 1 teaspoon of sugar. You will also need 1 cup of warm water (between 100°F to 110°F) and a pinch of salt.
2. Activate the Yeast: In a small bowl, combine the warm water, sugar, and yeast. Stir gently to dissolve the yeast and sugar. Let the mixture sit for about 5 to 10 minutes until it becomes frothy. This indicates that the yeast is active and ready to use.
Mixing the Dry Ingredients
1. Prepare the Dry Ingredients: In a large mixing bowl, measure out 3 cups of bread flour and add 1 teaspoon of sea salt. Whisk the dry ingredients together to ensure they are evenly distributed.
2. Make a Well in the Flour: Create a small well or indentation in the center of the flour mixture. This will be the place where you will add your yeast mixture.
Forming the Dough
1. Combine Wet and Dry Ingredients: Once your yeast mixture is frothy, pour it into the well you created in the flour mixture. Use a wooden spoon or spatula to gradually incorporate the flour into the yeast mixture, starting from the inner rim of the well. Continue mixing until a shaggy dough begins to form.
2. Knead the Dough: Transfer the dough onto a lightly floured surface and start kneading it. Knead the dough for about 8 to 10 minutes until it becomes smooth and elastic. If the dough is too sticky, sprinkle a little more flour as you knead, but be careful not to add too much, as this could affect the texture.
3. Add Olive Oil: After kneading, create a small well in the center of the dough and pour in 1 tablespoon of extra virgin olive oil. Fold the dough over itself and knead for an additional minute to incorporate the oil fully.
This part of the process sets the foundation for a delicious artisan pizza dough, ready to rise and then be transformed into your favorite pizza creations. Stay tuned for the next part, where we will discuss the fermentation process, shaping techniques, and baking tips to ensure your pizza is irresistibly good.
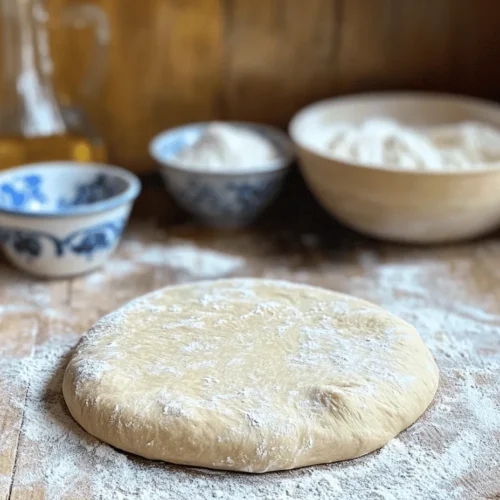
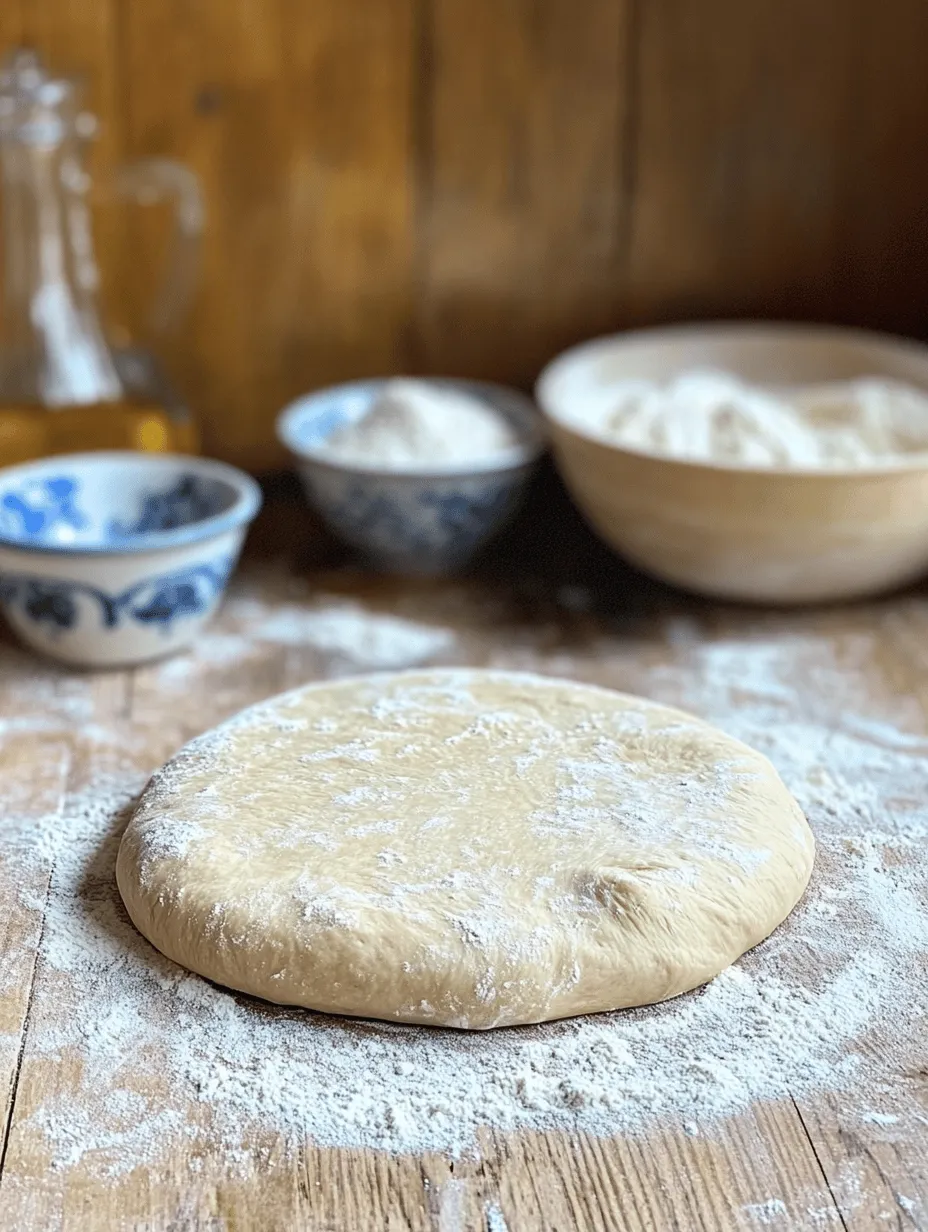
Step-by-Step Directions on Mixing the Ingredients to Create a Rough Dough
To begin crafting your artisan pizza dough, start by assembling your ingredients: high-protein bread flour, warm water, active dry yeast, salt, and a splash of olive oil. The quality of your ingredients will significantly impact the final product, so opt for high-quality flour and fresh yeast.
1. Combine Dry Ingredients: In a large mixing bowl, whisk together 4 cups of bread flour and 1 teaspoon of salt. The salt not only adds flavor but also strengthens the dough by controlling yeast activity.
2. Activate the Yeast: In a separate bowl, combine 1 ½ cups of warm water (around 100°F) with 2 teaspoons of active dry yeast. Allow it to sit for about 5-10 minutes until it becomes frothy. This indicates that the yeast is active and ready to work.
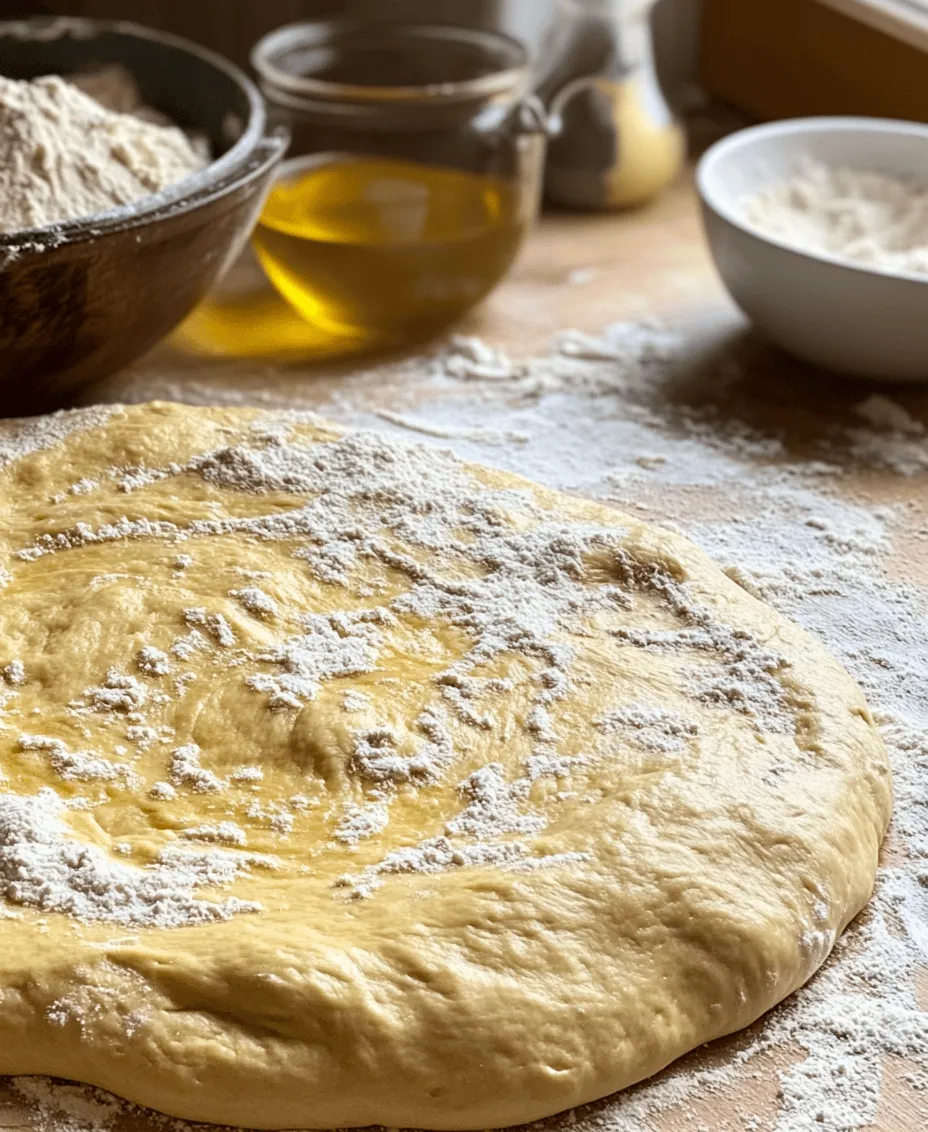
3. Mix the Dough: Once the yeast is activated, pour it into the flour mixture along with 2 tablespoons of olive oil. Using a wooden spoon or your hands, begin to mix until the dough starts to come together. The goal is to create a rough dough that is slightly sticky but holds together. If the dough feels too dry, add a little more water, a tablespoon at a time, until you achieve the right consistency.
Kneading the Dough
Kneading is a critical step in dough preparation that develops gluten, giving your pizza crust its structure and chewiness.
1. Knead by Hand: Turn the dough out onto a lightly floured surface. With clean, floured hands, press down on the dough, fold it over, and then push it away with the heel of your hand. Rotate the dough a quarter turn and repeat this process.
2. Knead until Smooth: Continue kneading for about 8-10 minutes. The dough should become smooth and elastic. If it sticks excessively to your hands or the counter, sprinkle a little more flour as needed.
3. Signs of Readiness: To check if your dough is ready, perform the “windowpane test.” Take a small piece of dough and stretch it between your fingers. If it stretches thin enough to let light through without tearing, you’ve developed the gluten sufficiently.
The First Rise: Allowing the Dough to Prove
Once kneading is complete, it’s time for the first rise, also known as fermentation. This step allows the yeast to do its magic, creating air bubbles that will make your crust light and airy.
1. Prepare for Rising: Lightly oil a large bowl and place your kneaded dough inside. Turn the dough in the bowl to coat it lightly with oil, which will prevent a crust from forming on the surface.
2. Ideal Conditions: Cover the bowl with a damp cloth or plastic wrap to retain moisture. Place it in a warm, draft-free area, ideally around 75-80°F. If your kitchen is cool, you can also place the bowl in a slightly warm oven (turned off) or near a heating element.
3. Timing: Allow the dough to rise for about 1-2 hours, or until it has doubled in size. Keep an eye on it; times may vary depending on environmental conditions.
Dividing and Shaping the Dough
After the first rise, it’s time to punch down the dough and divide it into portions for individual pizzas.
1. Punching Down: Gently press down on the dough to release excess air. This process is crucial as it reactivates the yeast for a second rise and redistributes the gases within the dough.
2. Dividing the Dough: Transfer the dough onto a lightly floured surface. Use a sharp knife or dough scraper to cut it into 2 or 4 equal portions, depending on the size of the pizzas you want.
3. Shaping Dough Balls: Take each portion and form it into a round ball by tucking the edges under and rolling it against the surface. This creates tension on the outside of the dough, which will help it hold its shape during the second rise.
The Second Rise: Preparing for Baking
The second rise is essential for developing flavor and achieving the perfect texture in your pizza crust.
1. Resting the Dough: Place the dough balls on a floured tray or baking sheet. Cover them with a damp cloth or plastic wrap again, allowing them to rise for about 30-60 minutes. This will loosen the gluten strands, making it easier to stretch the dough later.
2. Role of the Second Rise: During this time, the dough will expand slightly and develop a more complex flavor profile due to the yeast’s continued fermentation.
Baking Artisan Pizza
Now that your dough has risen beautifully, it’s time to bake your artisan pizza. The baking process is crucial for achieving that crispy crust and perfectly melted cheese.
Preparing the Oven and Pizza Stone
1. Preheat the Oven: Preheat your oven to its highest setting, typically around 475°F to 500°F. This high temperature is key to mimicking the conditions of a traditional pizza oven.
2. Using a Pizza Stone: If you have a pizza stone, place it in the oven while it preheats. This allows the stone to absorb heat and create a crispy base for your pizza. If you don’t have a pizza stone, you can use an inverted baking sheet.
Rolling Out the Dough
1. Stretching the Dough: Once the second rise is complete, take a dough ball and place it on a floured surface. Using your fingers, gently press the dough into a flat circle, leaving the edges slightly thicker for the crust.
2. Maintain Structure: Avoid using a rolling pin as it can deflate the dough. Instead, use your hands to stretch the dough, rotating it as you go to maintain an even thickness. Aim for about 10-12 inches in diameter.
Topping Your Pizza
The beauty of pizza lies in its versatility, allowing for endless topping combinations.
1. Classic Toppings: For a traditional Margherita pizza, spread a thin layer of tomato sauce, sprinkle fresh mozzarella cheese, and add basil leaves.
2. Innovative Combinations: Consider trying unique toppings like goat cheese, caramelized onions, arugula, or even fig jam. The key is to balance flavors and avoid overloading the pizza with too many toppings to ensure even cooking.
Baking the Pizza
1. Sliding onto the Stone: If using a pizza stone, carefully transfer your assembled pizza onto the preheated stone. If using a baking sheet, place the sheet directly into the oven.
2. Baking Time: Bake for about 10-12 minutes, or until the crust is golden brown and the cheese is bubbling. Keep a close eye on it, as baking times may vary depending on your oven and the thickness of your crust.
Conclusion: Enjoying Your Artisan Pizza
Mastering artisan pizza dough is not just about the process; it’s an art that enhances your culinary skills and brings joy to your dining experience. By understanding the ingredients and following this detailed step-by-step process, you can create delicious pizzas that rival your favorite pizzeria. The satisfaction of sharing homemade creations with family and friends, coupled with the aroma of freshly baked pizza wafting through your home, is truly unmatched. Embrace the art of pizza-making, experiment with toppings, and relish the joy of crafting your own artisan pizza from scratch.